A snowboard feels different on every turn, and much of that feeling comes from a few numbers that most riders never think about: the width of the stance, the angle of each foot and the position of the bindings relative to the board’s edges. Get them right and the board turns smoothly and tires you less. Get them wrong and the board fights you on every carve, and you assume the problem is your legs.
This guide explains what stance and binding angles do, how to think about setup before you touch a tool and why a shop setup is worth paying for. It does not give a single correct setup, because the right one depends on the rider, the board and the terrain. We do not give binding release settings or safety instructions, which belong with a qualified technician.
Read this if you are choosing bindings and stance for the first time and want a setup that suits your riding. You can skip it if you already ride a setup you like and only need new boots.
In this guide
Stance width and why it matters
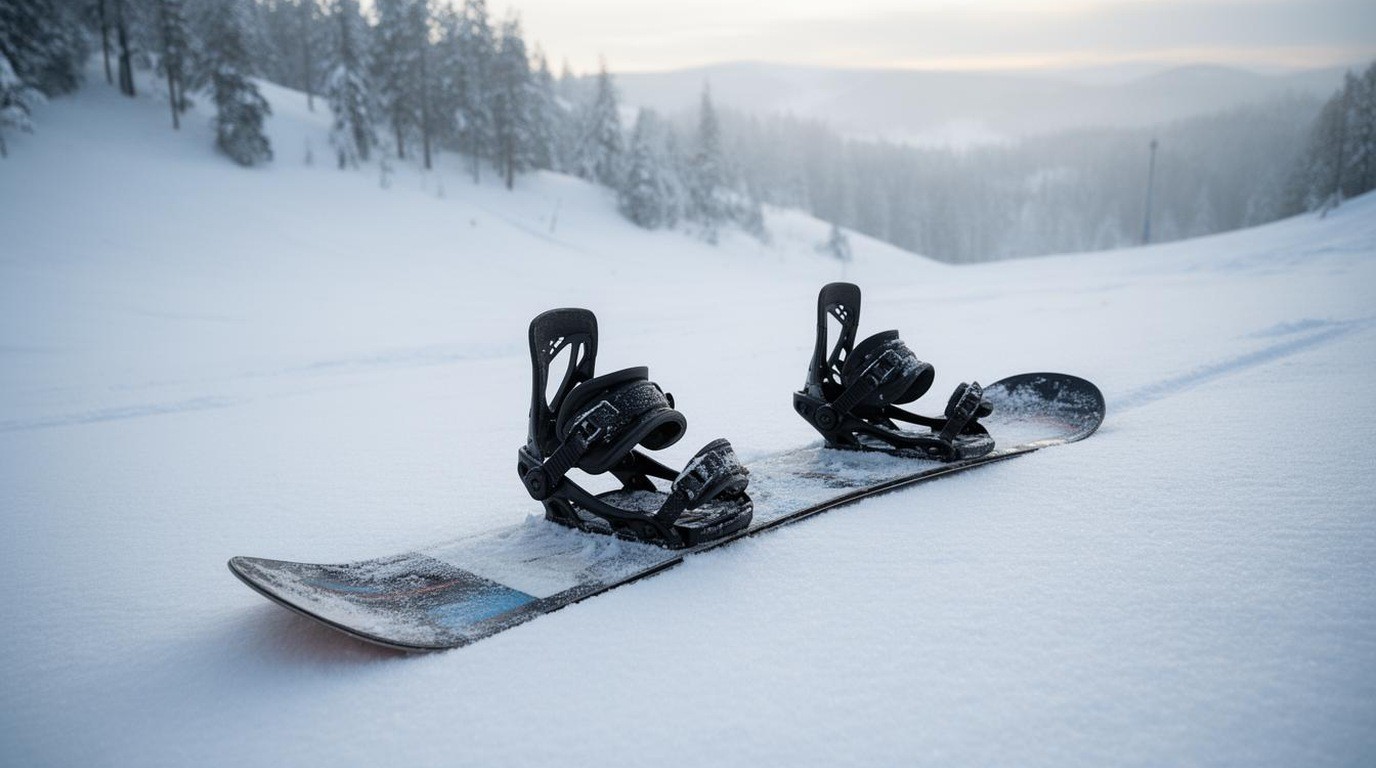
Stance width is the distance between the two bindings, usually measured between the centers of the inserts. A wider stance gives more stability and a feeling of control at speed, and it suits riders who prefer to ride with a lower center of gravity. A narrower stance makes the board more responsive and quicker to turn, which can suit smaller riders and those who like to ride quickly through turns.
Many riders choose a stance that is roughly shoulder width, then adjust. The right width also depends on the board’s length and width, and on the rider’s boots. A board that is too narrow for a large foot can cause the boot to hang over the edge, which causes drag and makes the board harder to control.
Binding angles: front and back
Each foot can be angled, and the angles change how the board turns and how comfortable the stance feels. The front foot angle is usually positive, meaning the toes point slightly toward the nose of the board. The back foot angle is often more neutral or slightly negative, which helps the rear knee and hip move freely.
These angles are described in degrees. A common starting point for many riders is a moderate positive angle on the front and a smaller angle on the back, but the right numbers depend on the rider’s body, their riding style and whether they ride regular or goofy. Treat any starting point as a guess to test, not a rule.
Regular and goofy
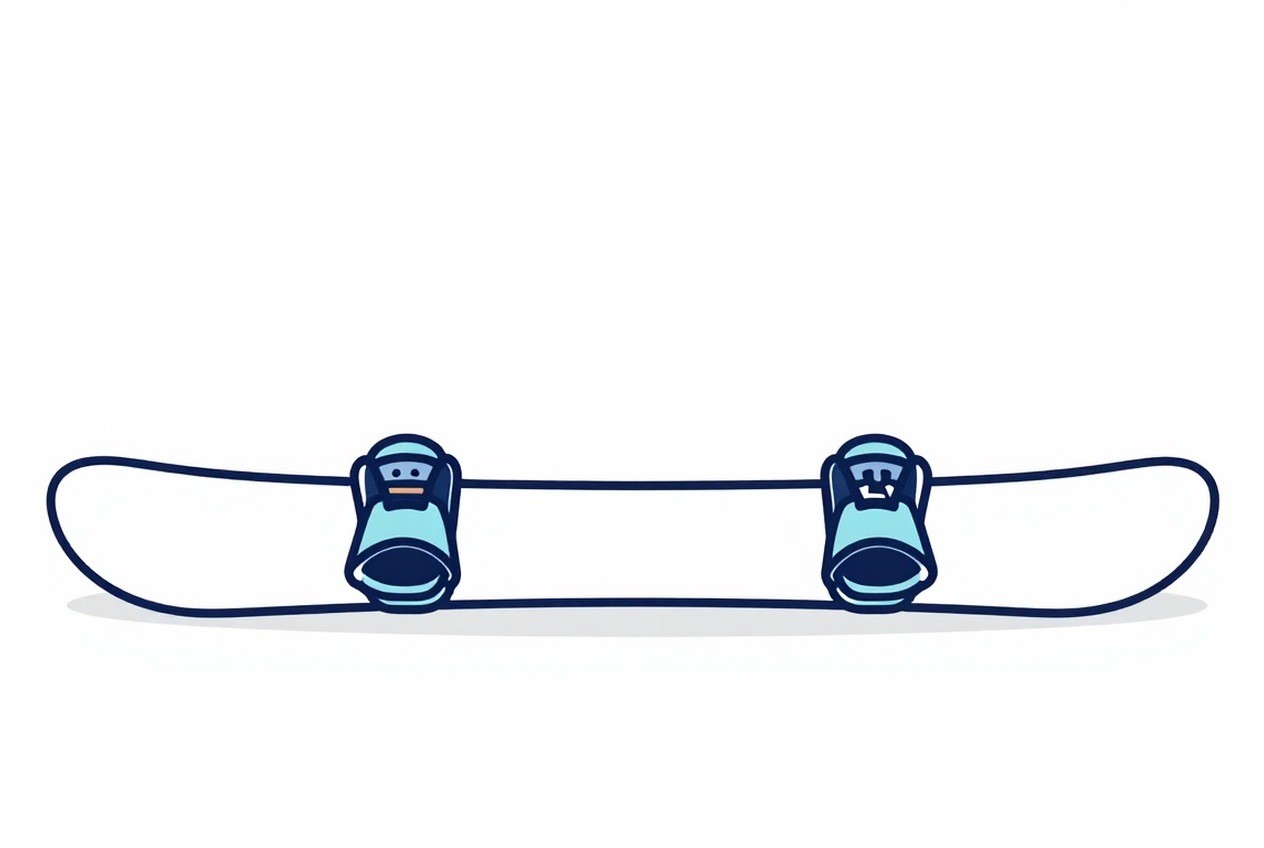
Riders stand with the left or right foot forward. Regular means the left foot is forward, and goofy means the right foot is forward. Choose the stance that feels natural on flat ground. A simple test is to slide across a smooth floor in socks and notice which foot you lead with. Your preference matters more than any table, and many riders ride differently from how they stand.
Setting up at home versus in the shop
A basic setup can be made at home with the right tools, but a shop setup is more reliable. A technician measures the board, checks the mount points and sets the angles and width with the rider present. They can also check whether the bindings are mounted to the manufacturer’s recommended positions and whether the screws are torqued correctly.
Home adjustments are possible for angles and width on many bindings, using the manufacturer’s tools and instructions. Take the adjustments slowly, test each change on snow and keep a note of what you did. Never adjust release or retention settings yourself. Those are safety matters and should be checked by a qualified technician.
Testing a change properly
A change of stance is only useful if you test it under the same conditions. Ride the same run several times with one setup before changing anything. Note how the board feels on the heelside and toeside, how the knees and hips respond and whether the front foot feels pressure on the ankle or the toes.
Change one thing at a time. If you alter the width and the angles together, you will not know which change helped. A few millimeters or a few degrees often makes a noticeable difference, so small changes are usually enough.
Common setup problems
- Heel drag or toe drag on turns, often caused by the boot hanging over the board edge or a stance that is too narrow.
- Knee and hip strain after a day of riding, often linked to a front angle that is too steep or a back angle that is locked too tight.
- A board that wants to fall into the turn, which can come from a stance that is too wide or a board that is not suited to the rider’s weight.
- Ankle or shin pressure from a boot that is not positioned correctly in the binding.
If you have pain or an injury, speak to a physician or a physiotherapist. Our guide to ski boots that fit covers how the boot and the binding work together, which is often where pressure problems begin.
Board choice matters too
A board’s length, width, flex and shape interact with the stance. A wide board suits larger boots and a wider stance. A directional board is designed to ride best in one direction and suits a particular stance preference. A twin board is symmetrical and suits riders who switch between regular and goofy. Choose the board for your riding style and terrain, then set the stance for the board you have.
Buying a board and bindings in the season
Boards and bindings are discounted in early season sales, and it can be tempting to buy a complete setup. Check that the bindings are compatible with the board’s mounting system and with your boots. Ask the shop whether they will mount and set up the bindings as part of the purchase. Our early-December sales guide explains how to check model years and return terms before you commit.
The short version
Stance width and binding angles change how a board turns and how your body feels after a day on the mountain. Start with a stance close to shoulder width, choose a front and back angle that feels natural and test each change on snow, one at a time. Let a qualified technician check mounting and release settings, and treat any pain as a reason to see a professional.
Setting up with a shop
- Stand on the board in your boots and note how your feet sit across the width.
- Ask a shop to set the binding angles and release settings for your weight, height and ability.
- Ride a few gentle runs, then ask a coach to check the setup before you tackle harder terrain.